2016/2017 Meeting Summary
This section is to help you complete your APR form for this project. Please feel free to use any photos on this website for your record books as well. The record book is a great way for you to record your progress and accomplishments with learning a new skill. The APR should be completed by all members ages 9-19 though younger youth may complete the form if they wish.
- 9/17/16 Fiber dyeing. We learned to dye wool fiber using acid dye and the difference between protein and plant based fibers used in spinning.
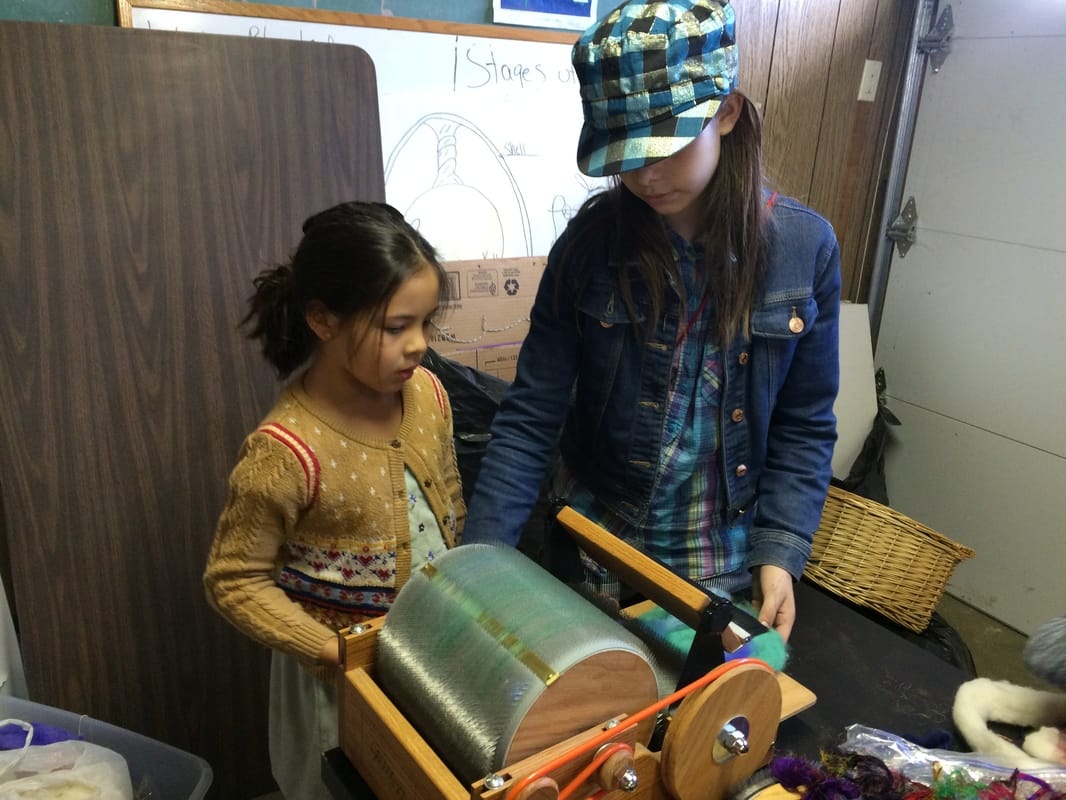
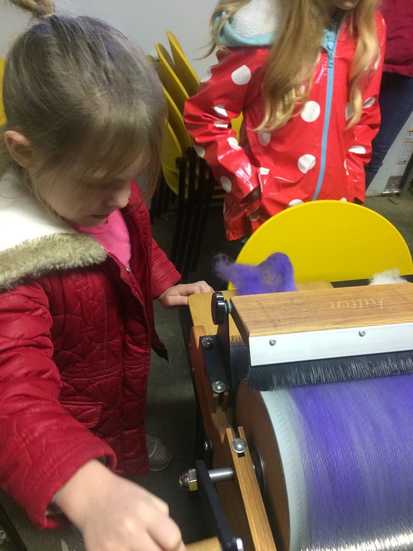
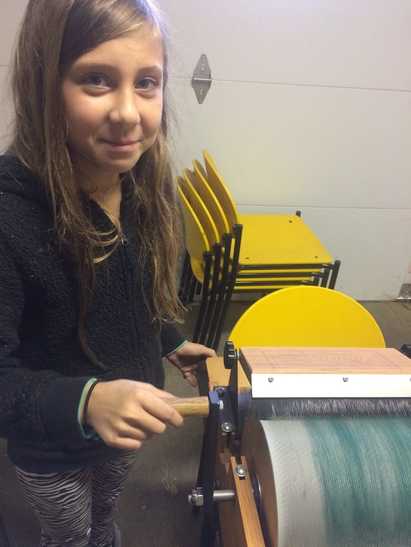
- 10/15/16 Fiber prep for spinning. We learned how to card the fiber we hand dyed into a batt using hand cards and a drum carder. We also learned how to blend fibers colors and how to incorporate accent fibers/materials into a batt.
- 11/19/16 Beginning drop spinning. We learned how to spin a single from a hand carded batt using a drop spindle. We learned the parts of the drop spindle and how the work together to make loose fibers into a strong strand of yarn by twisting them together.
- 12/17/16 Continue drop spinning and beginning plying. We continued to learn how to use our drop spindles. We began to ply singles together to form a balanced 2 ply yarn.
- 1/21/17 Continue plying and beginning wheel spinning. We continued to practice plying on our drop spindle. We also began learning how to spin yarn using a spinning wheel.
- 2/25/17 (NO PROJECT MEETING THIS MONTH) We took a field trip to the Stitches West Convention in Santa Clara. We saw many different styles of fiber art including knitting, crochet, felting and rug hooking. We had the chance to practice rug hooking, and learned how to make rolags on a blending board.
- 3/18/17 Advanced plying techniques and a guest spinning demonstration. We learned how to make 3 and 4 ply yarns, and how to navajo ply our singles into a balanced yarn. We learned how the plying technique you choose will affect the coloring of your finished yarn. We also had a wonderful spinning demonstration from Connie who taught us how she spins on her spinning wheel.
- 4/22/17 Art yarns. We learned how to incorporate silk flowers, feathers, beads, sequins, coils, and coil hives into our yarns. We also learned how to autowrap our singles using a thread.
- 5/21/17 Carding an art batt. We learned how to put together a fiber batt made of various materials to be used in spinning an art batt.
- 6/10/17 Party! We celebrated the end of our 4-H year together. We brought show and tell's and project to work on together while enjoying ice cream sandwiches. We all got to select fiber/yarn to use for a new project.
December 17, 2016
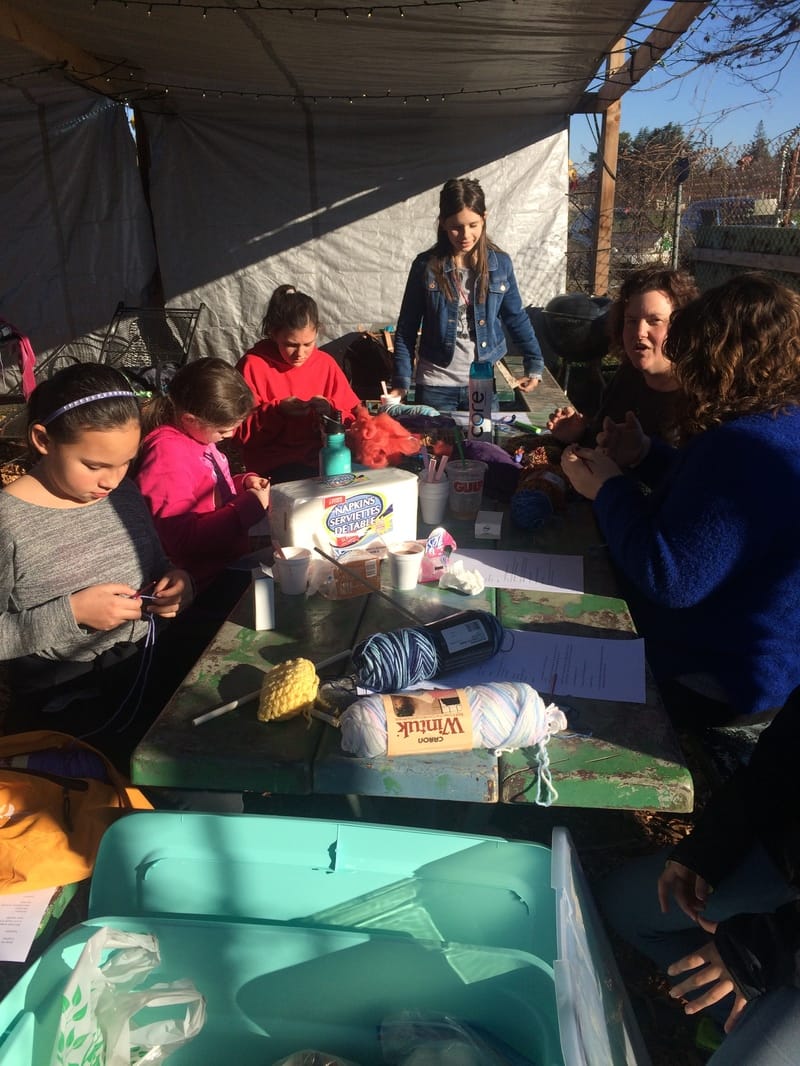
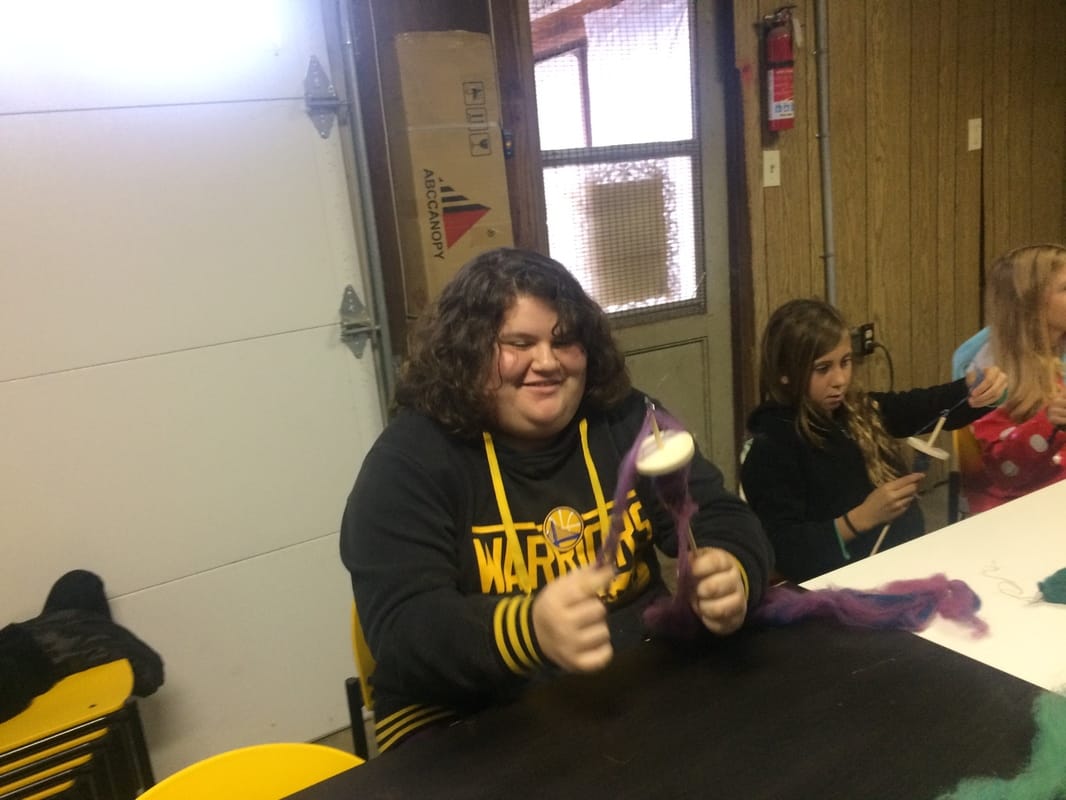
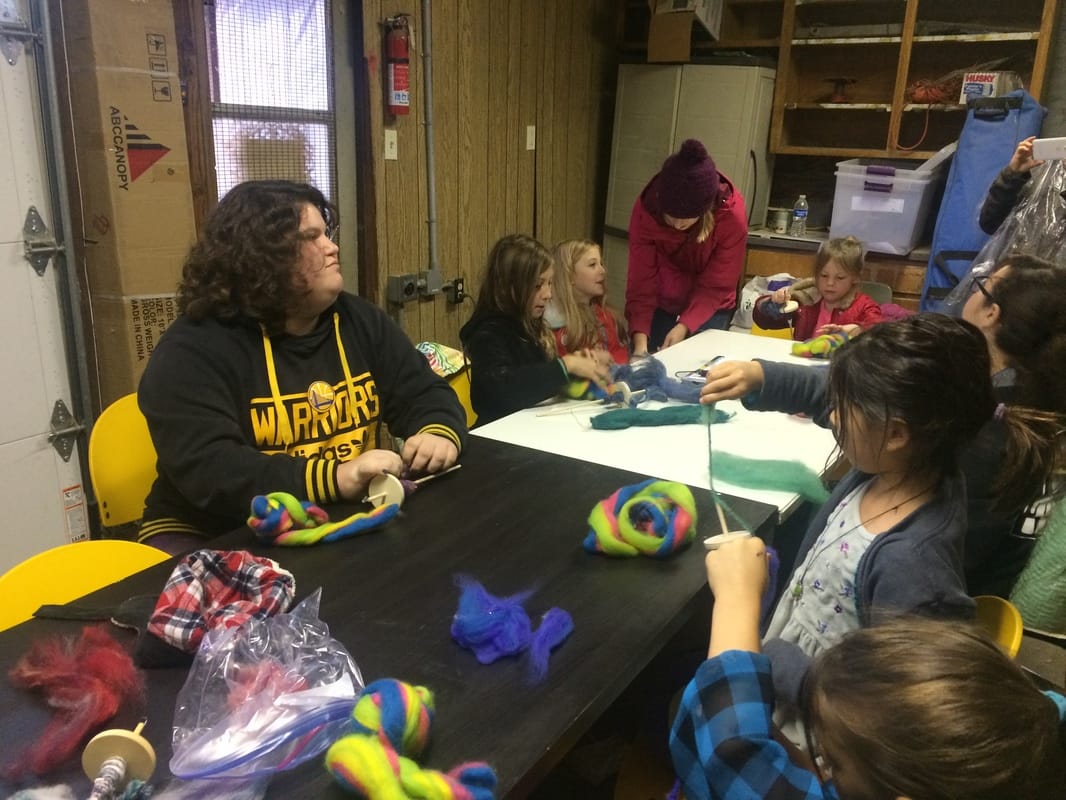
We continued to practice our spinning this month. You are doing very well and I am very proud of each of you! Some of you also learned how to begin plying your spun singles into a yarn. I will be bringing the drum carder and fiber to each meeting so that you can get more to spin up when you need it. Your youth leaders are working on setting up an additional meeting each month starting in January. Right now they are working on finding a location with light and out of the rain! If you have any ideas or have certain days that work better than others, please email me and let me know. We need to think of a community service project/event. Last year we made a project linus blanket. The event doesn't have to be fiber related. Please email your suggestions or bring them to the January meeting. I wish you all a very happy holiday!

November 19, 2016
|
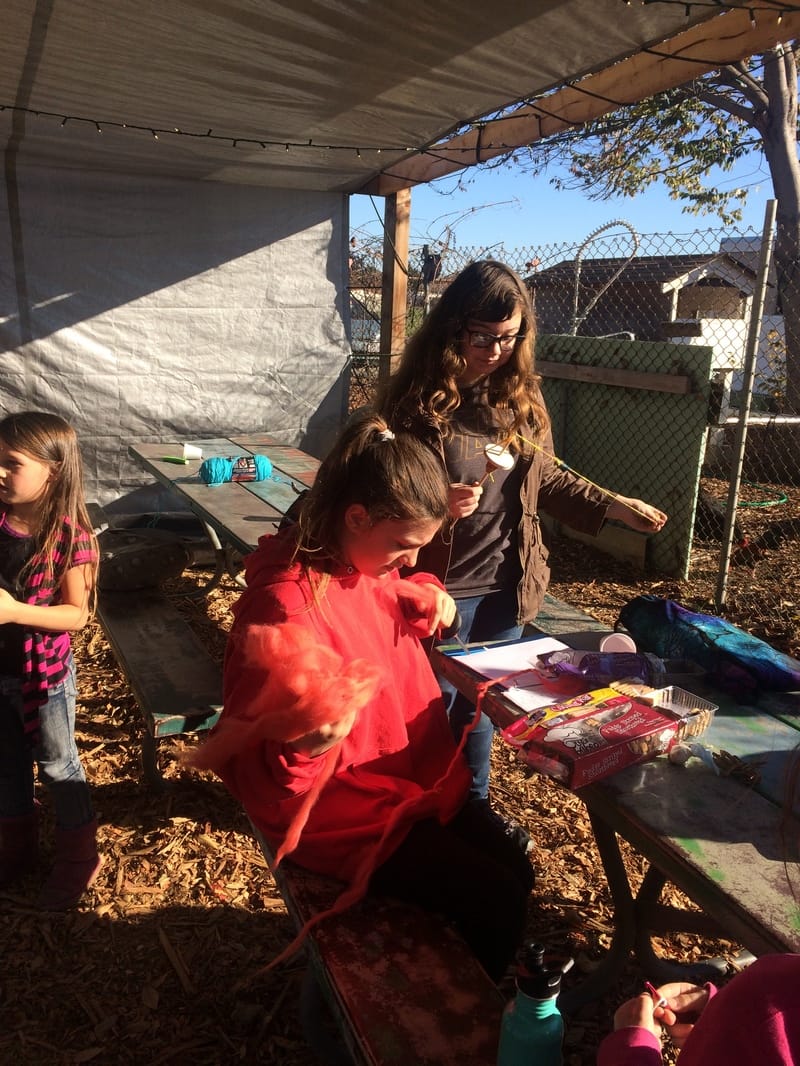
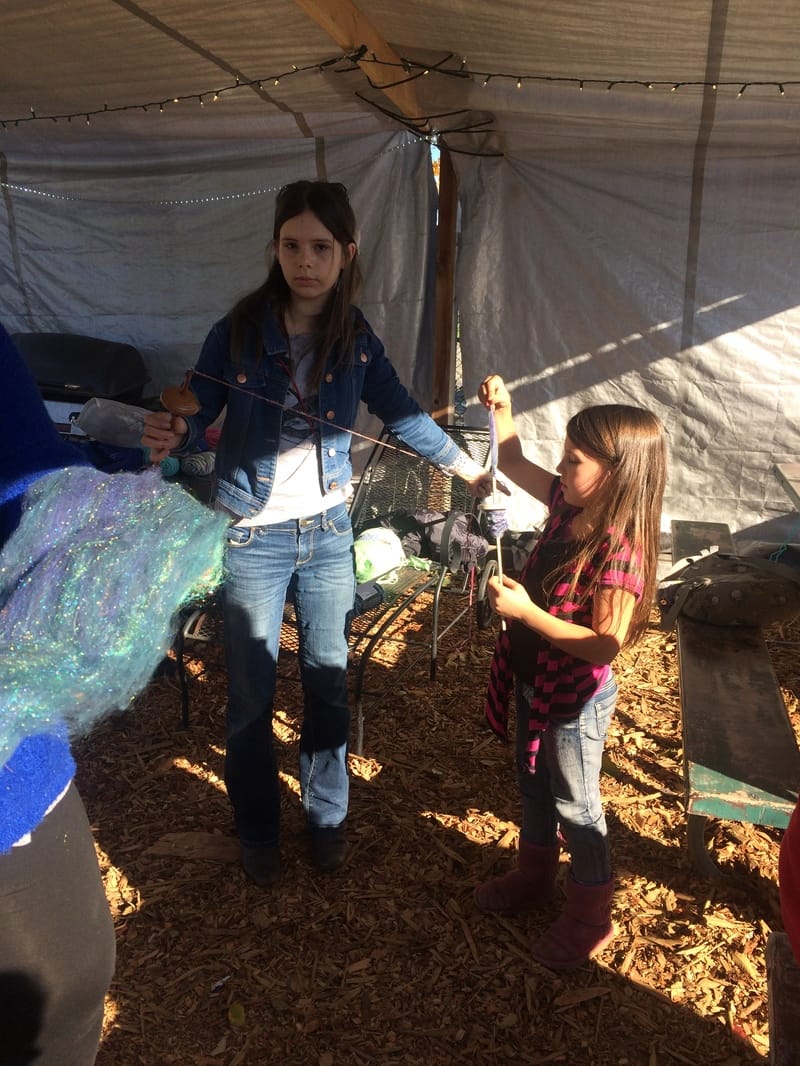
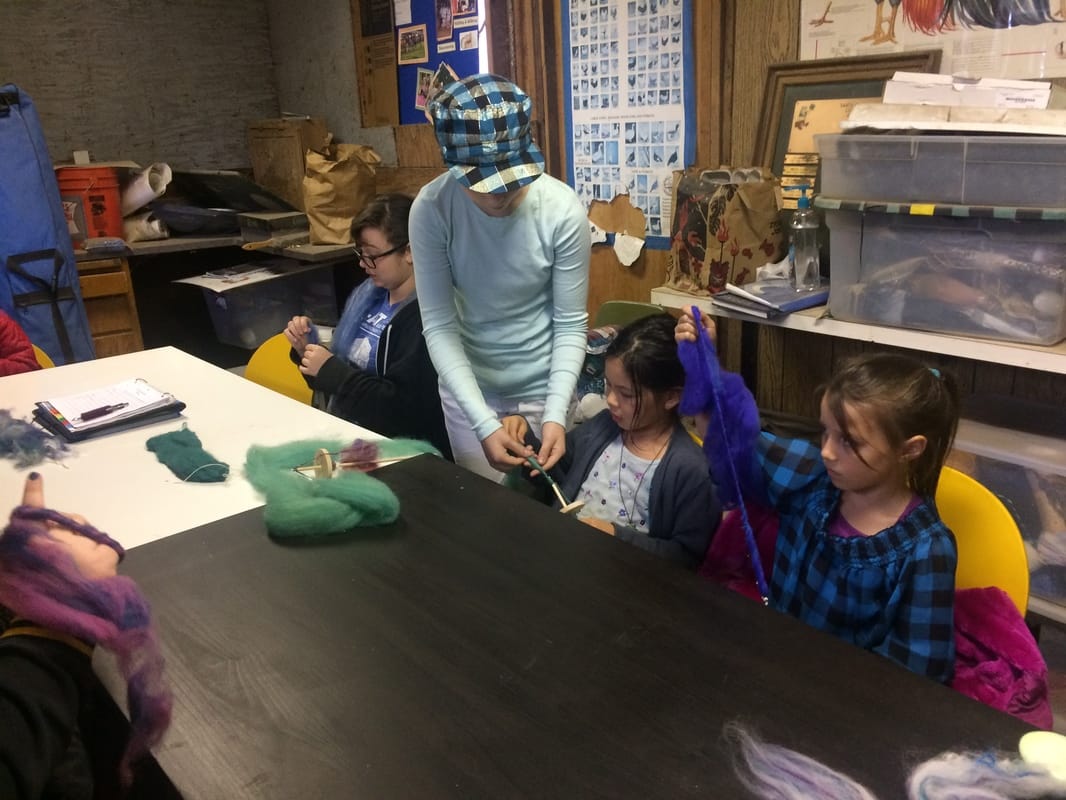
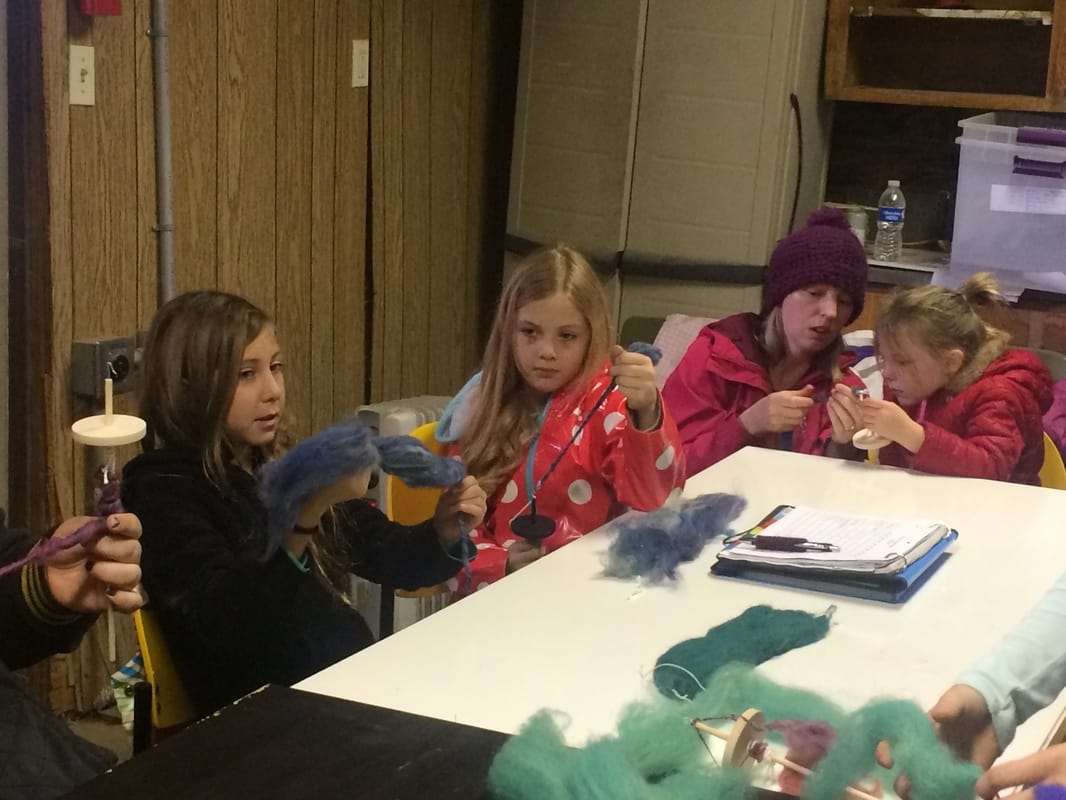
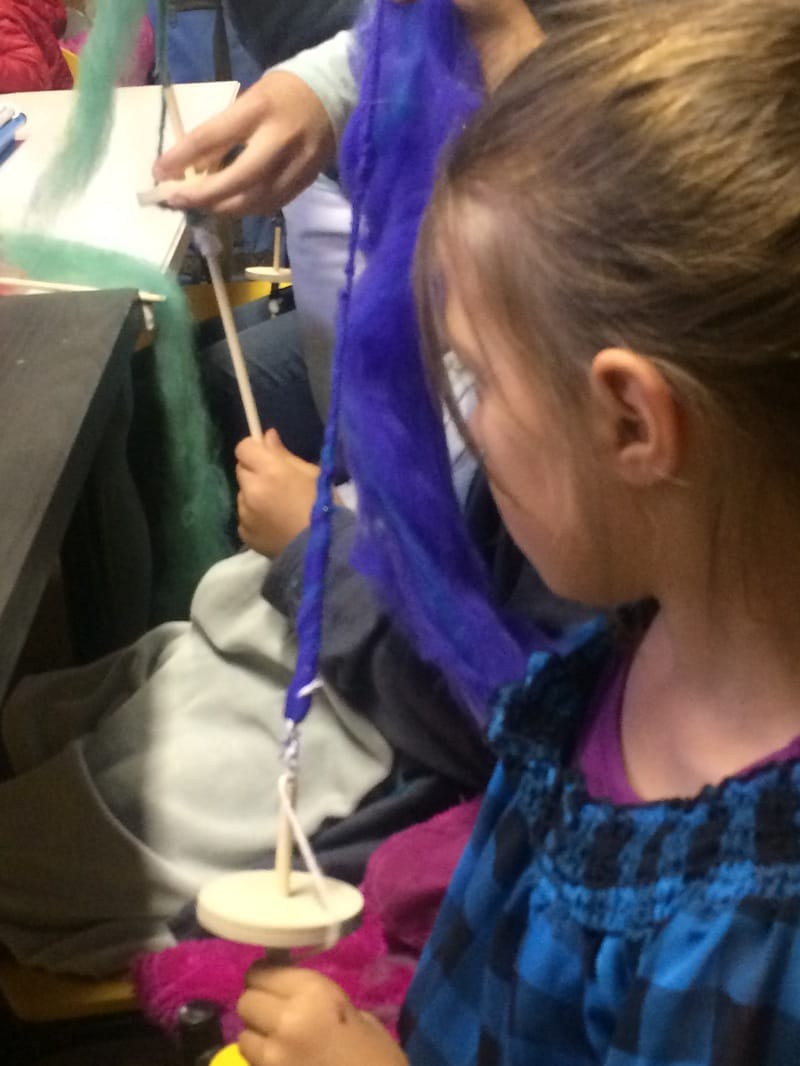
Spinning! Finally we have started spinning. Each of you received your own wooden drop spindle. The spindle is a top whorl style spindle. There is a metal hook at the top of the shaft. Below the hook there is a round disk called the whorl. There is a long strand of yarn attached just under the whorl that goes up over the side and attached to the hook. It is in this position that you can attach your fiber and beging introducing twist. Twist is like glue! Before you add twist the fibers can easily be pulled apart and will break. They fiber isn't strong enough to support any tension. However, once we introduce the twist, the fibers become much stronger and can be used to make many new things such as yarn for knitting, crochet, or weaving or into thread used for sewing.
|

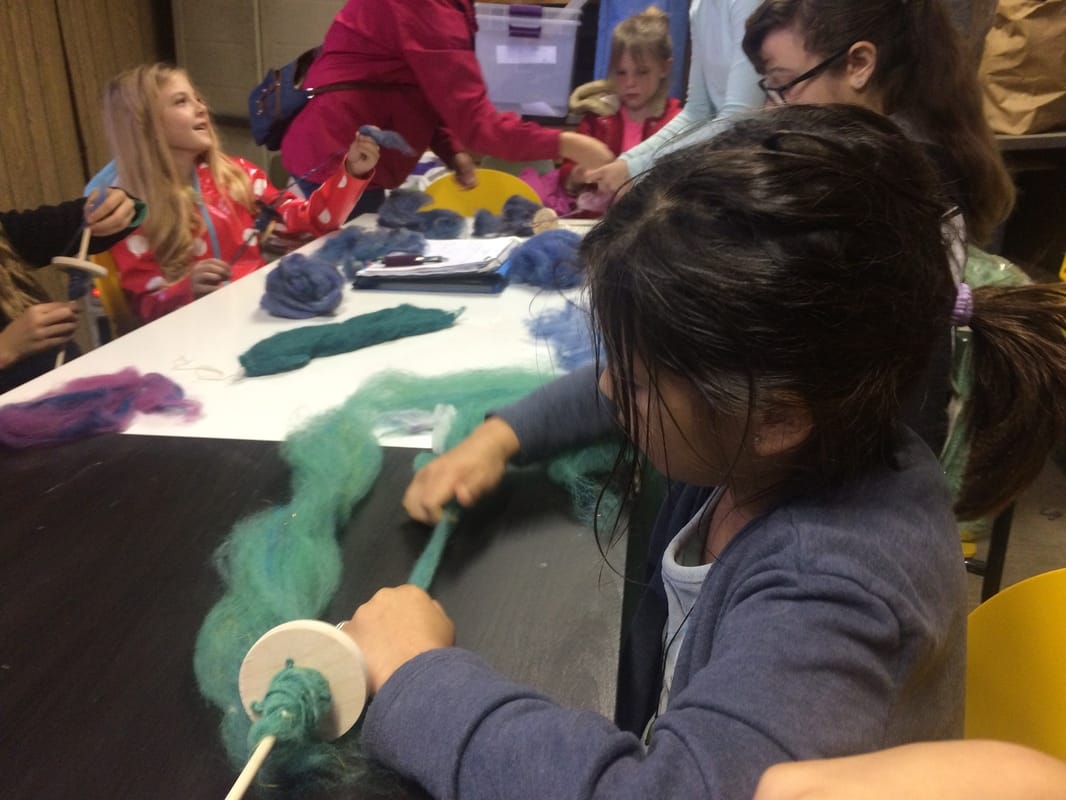
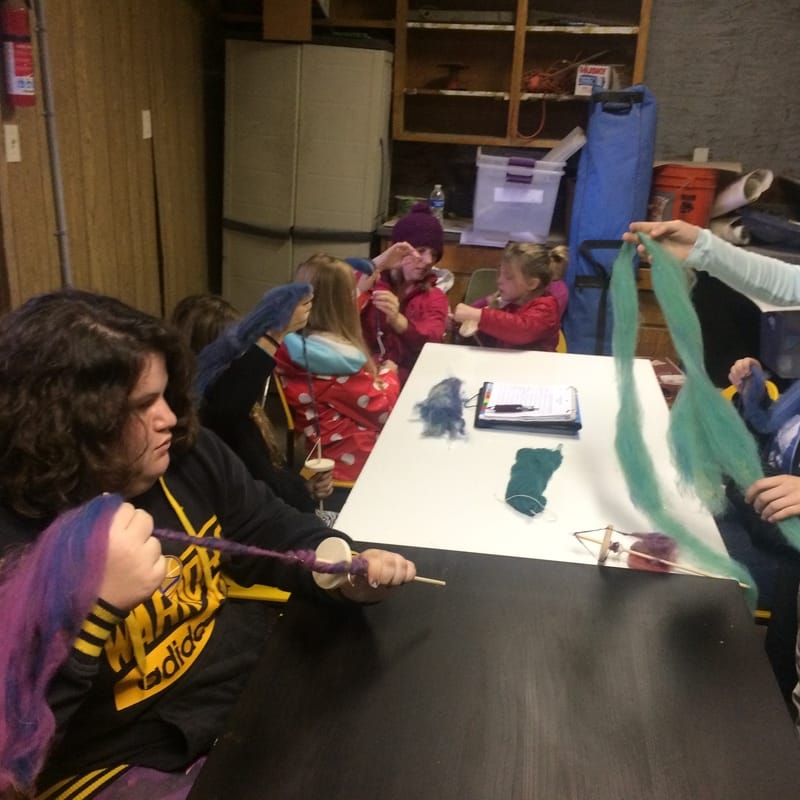
Preparing your fiber before spinning helps the spinning to go smoother! We call the preparation pre-drafting. This is when we take our batts or roving and pull on them and stretch them out so they become long, thin, and airy. You should be able to see through your fiber once it is drafted out. The thickness of the drafted fiber often dictates how thick your spun single will be. We call fiber that has not been plied a single. Most yarns are made of 2 or more singles plied together. We will learn plying next month!
|
|
During class we learned a simple saying to help us remember the steps for spinning. Spin, park, pinch, pull, release!
Repeat until you have spun enough yarn to wind onto the spindle shaft for storage. |
|

October 15, 2016
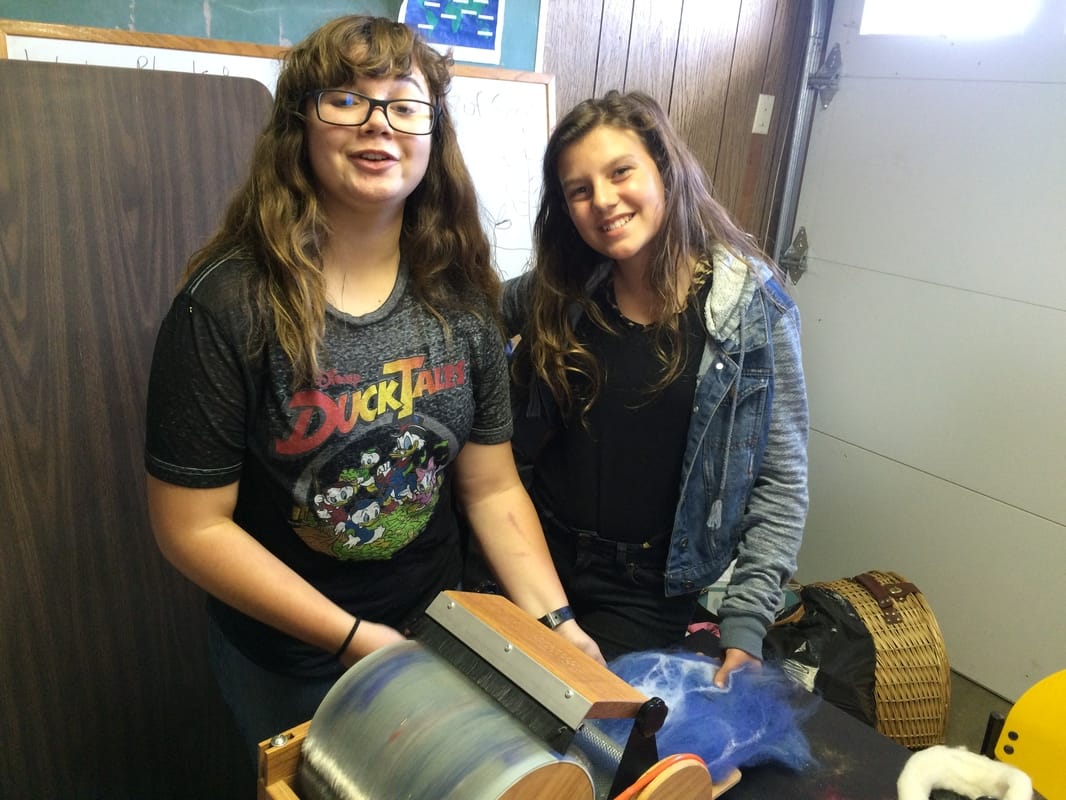
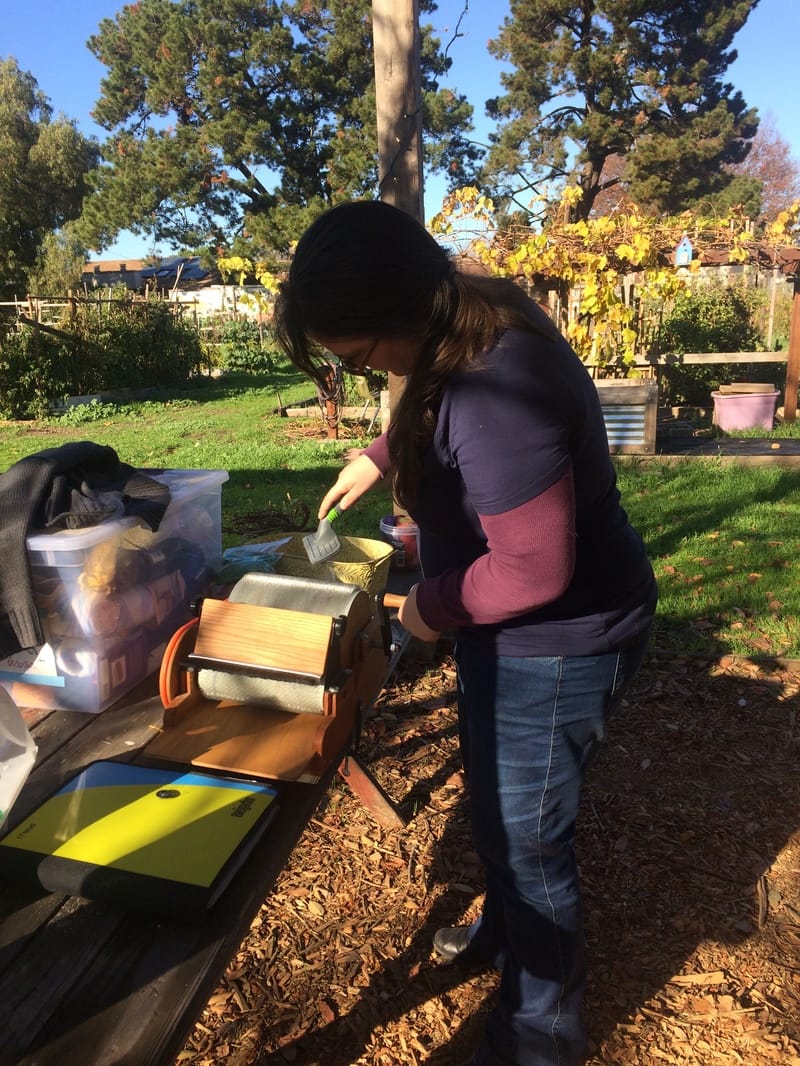
When using a drum carder, it is fun to add "add-ins" to add texture or sparkle and color to your batt. Some of you added firestar and angelina which add a lot of sparkle and shine! Others used bright colorful fiber from recycled indian silk sari's. This process also lets us add different types of fibers. For example, we may choose to add in a little bit of silk to add shine and softness, or maybe a little bamboo for a cooler and more absorbent fiber mix. The combinations are endless. This is a great time to get creative!
|
This month we took our dyed fiber from September and carded it using a drum carder. Carding the fiber is just one way to prepare your fiber for spinning. This method straightens and separates the fiber. This is an especially good way to prepare fiber that has different staple lengths. The staple length is the length of each individual fiber. The result of carding fiber is a fiber batt. A batt is a light, open, and airy "roll" of fiber that is usually used to spin a woolen yarn. If you should need additional fiber to spin please check out the resources section of the website for good places to purchase from. Please remember that carding paddles and machines have many many sharp metal pins and that you must always be careful to keep your hands clear of the carding cloth. It is always a good idea to use the drum carder with an adult. Dog slicker brushed also make wonderful easy to use carders and are usually safer.
|
|
|
September 17, 2016
This month we learned how to scour and dye fleece. Scour or scouring is just another word for cleaning!
Scouring Fleece:
1. Select only the best and cleanest parts of a fleece.
2. Place fleece in a pot of very hot soapy water. (Dawn dish-soap works great!)
3. Let fleece soak for a short time. The lanoline (oil) in the fleece will begin to float to the top of water. Sand and other heavier dirts will fall to the bottom.
4. Dump dirty water outside being careful not to dump out fleece.
******Repeat steps 3 and 4 until the water/fleece is clean.********
5. Allow fleece to cool down until it is safe to touch.
6. Place clean fleece in a strainer and gently rinse with room temperature water. (being gentle is important as too much agitation will make the fleece turn into felt.)
7. Once fleece is clean, set it on a screen/rack out in the warm sun to dry.

How to Dye Wool Fiber:
Supplies:
1. Pour hot water into mason jar. (only enough to cover your wool)
2. Add 1tsp of citric acid or vinegar to water
3. Add a very small amount of dye to your water
4. Stir well to dissolve the citric acid and pigment/dye
5. Gently add fiber to jar of dye. Use a spoon to press the fiber down until it is completely submerged and all air bubbles have been pressed out. (Remember to be gentle so you do not felt your fiber.)
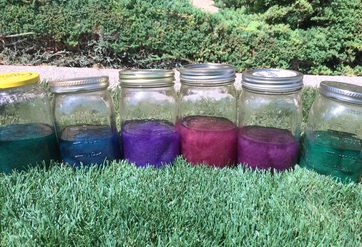
6. Place lid on mason jar and set it out in the sun for several hours.
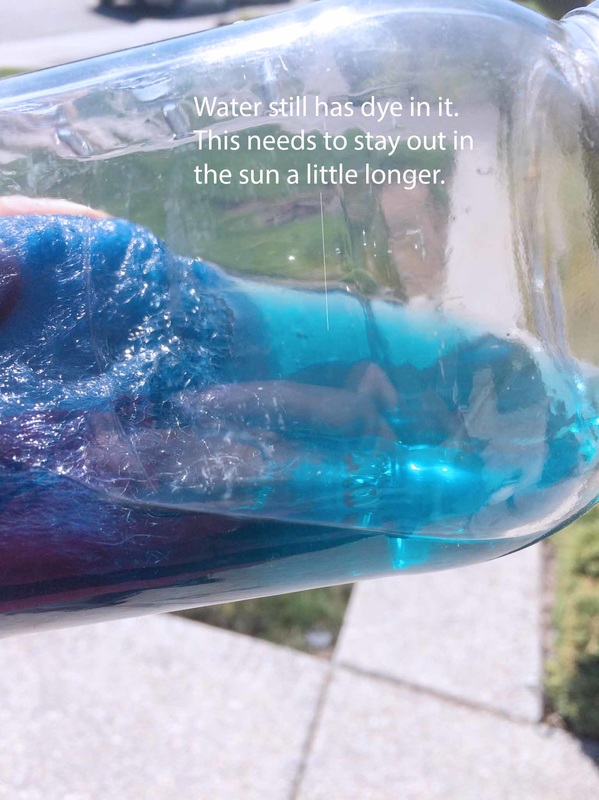
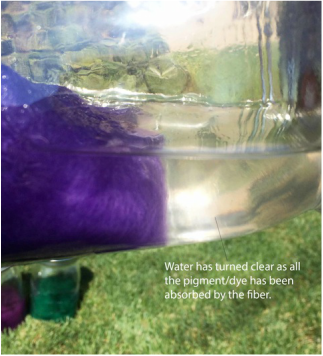
7. Check your fiber every few hours to see if all the dye has been absorbed by the fiber. You will know it has been absorbed when the water is clear.
8. Once all the dye is taken up by the fiber, place fiber in a dish with soapy water to wash. Let it soak for a while without agitation.
9. Drain soapy water. (you may need to repeat steps 8 and 9 until no more color bleeds from your fiber.)
10. Place fiber in a clean colander and rinse in room temp water gently until all soap is out of your fiber.
11. Place your fiber on a drying rack/screen in a sunny spot to air dry.
Supplies:
- wool fiber
- acid dyes (food coloring works great!)
- citric acid or white distilled vinegar
- mason jars (do not use these for food after using for dyeing)
- spoons (do not use for food after using for dyeing)
- hot water (be careful!)
1. Pour hot water into mason jar. (only enough to cover your wool)
2. Add 1tsp of citric acid or vinegar to water
3. Add a very small amount of dye to your water
4. Stir well to dissolve the citric acid and pigment/dye
5. Gently add fiber to jar of dye. Use a spoon to press the fiber down until it is completely submerged and all air bubbles have been pressed out. (Remember to be gentle so you do not felt your fiber.)
6. Place lid on mason jar and set it out in the sun for several hours.
7. Check your fiber every few hours to see if all the dye has been absorbed by the fiber. You will know it has been absorbed when the water is clear.
8. Once all the dye is taken up by the fiber, place fiber in a dish with soapy water to wash. Let it soak for a while without agitation.
9. Drain soapy water. (you may need to repeat steps 8 and 9 until no more color bleeds from your fiber.)
10. Place fiber in a clean colander and rinse in room temp water gently until all soap is out of your fiber.
11. Place your fiber on a drying rack/screen in a sunny spot to air dry.
|
|

|
